


Le blog de référence pour tous les passionnés de voitures !
Nombreux sont celles et ceux qui ne s’imaginent pas un seul instant pouvoir se passer de leur voiture, que ce soit pour aller faire ses courses, aller travailler ou pour partir en vacances. La voiture fait effectivement partie de ces équipements indispensables au quotidien. Cependant, il est aussi nécessaire d’en prendre soin de la meilleure des façons afin qu’elles soit toujours en mesure de parfaitement assurer ses différentes missions, ce qui n’est pas toujours très facile. Toutefois, les choses pourraient bien changer puisqu’en développant ce blog consacré au monde de l’auto, nous avons pris la décision de partager avec vous toutes les infos utiles dont vous pourriez avoir besoin un jour ou l’autre.
Toutes les infos pour entretenir votre auto facilement et à moindre coût !

Bien entendu, quel que soit le sujet que nous avons eu l’occasion d’aborder, nous avons fait en sorte de toujours rester parfaitement honnête et transparents. Ainsi, vous retrouverez lors de votre navigation des avis sur certains produits auto extrêmement positifs, mais d’autres pour lesquels nos avis seront un peu plus mitigés. Notre but premier est que vous trouviez grâce à ce blog auto le produit parfait pour vous, ni plus ni moins, et cela passe inévitablement par une information objective.
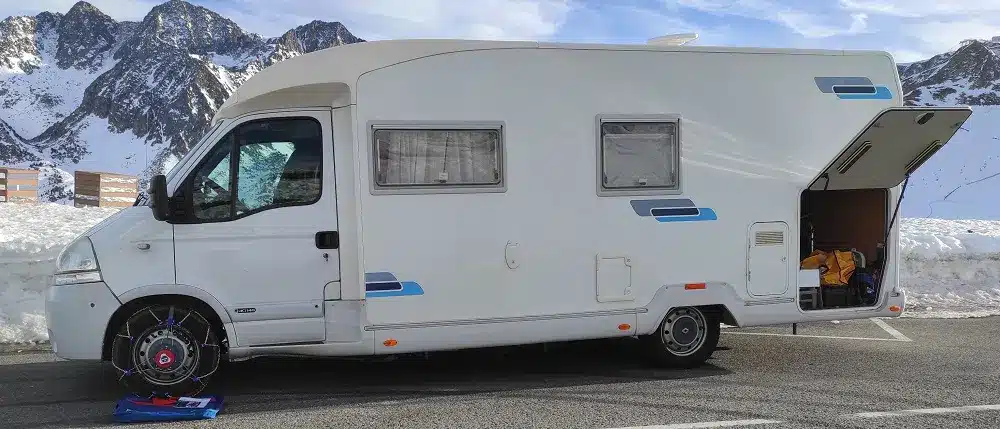
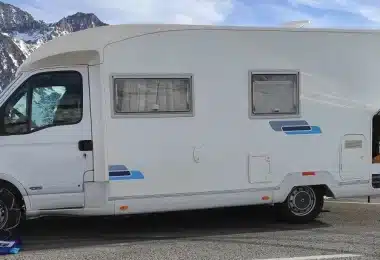
Partir en road trip en camping-car en hiver
Partir en road trip en camping-car en hiver est une expérience unique qui permet de découvrir des paysages magnifiques, des cultures variées et des activités originales. Mais pour profiter pleinement de son voyage, il faut bien se préparer et prendre en compte certains éléments essentiels. Voici quelques conseils pour réussir son road trip en camping-car […]

Les Tesla d’occasions sont t’elles une bonne affaire ?
Les voitures électriques connaissent un essor considérable ces dernières années, et parmi les constructeurs de ces véhicules respectueux de l’environnement, Tesla est sans aucun doute le plus connu. Ces voitures, réputées pour leur design élégant, leur autonomie impressionnante et leurs performances époustouflantes, offrent également une opportunité unique de personnalisation. Customiser sa tesla est devenu une […]

Les différences entre une voiture autonome et électrique
Les gens ont tendance à confondre voiture électrique et autonome. C’est normal, vu que ce sont des termes souvent associés ensemble. Et pourtant, beaucoup de choses les différencient notamment en ce qui concerne leur mode de fonctionnement. Votre cœur balance entre une voiture électrique et une voiture autonome ? Connaître comment elles fonctionnent devrait vous […]

Le voyant en forme de clé à molette est allumé sur Mercedes Sprinter : Que faire ?
Vous partez au travail dans votre Mercedes Sprinter Corsa et quelques moments après, vous observez l’arrivé d’un témoin en forme de clef à molette sur le tableau de bord. Vous cherchez à connaître la signification d’ un tel voyant et la procédure à respecter. Plus de stress, cette rubrique est pour vous. Lisez jusqu’à la […]
Classement pour acheter la meilleure batterie décharge lente camping car
Tout un chacun en est informé, acquérir une batterie décharge lente camping car ne doit pas être effectué sans précautions parce qu’il reste nécessaire de s’intéresser à un grand nombre spécificités précises. Ce n’est vraiment qu’en étant tout à fait méticuleux que vous obtiendrez la certitude de choisir le matériel qui sera à-même de combler […]

À quoi faut-il faire attention lors de l’achat d’une voiture d’occasion ?
Une voiture d’occasion est un véhicule qui a déjà été acheté et utilisé par un ou plusieurs propriétaires précédents. Contrairement aux voitures neuves, les voitures d’occasion ont déjà subi une certaine usure et peuvent présenter des signes de vieillissement ou de dégradation. Toutefois, elles sont souvent plus abordables que les voitures neuves, ce qui en […]

Quelle astuce pour faire entretenir sa voiture pour moins cher ?
Dans un contexte où le pouvoir d’achat est plus que jamais au centre des préoccupations de tous, le fait de faire entretenir sa voiture peut devenir réellement problématique. La moindre intervention peut venir déstabiliser son budget, et lorsque des réparations ou entretiens plus importants sont nécessaires, de vraies difficultés financières peuvent apparaître. C’est la raison […]

Karting indoor électrique : des raisons qui vous feront vous y mettre au plus tôt !
Le karting est un sport automobile très connu à travers le monde. Réalisé à titre compétitif ou ludique sur des circuits pouvant aller jusqu’à 1200 m, le karting peut impressionner plus d’un. Pour les amoureux de ce sport, la version indoor ne cesse de se développer dans plusieurs villes de France. Le karting indoor thermique fait […]
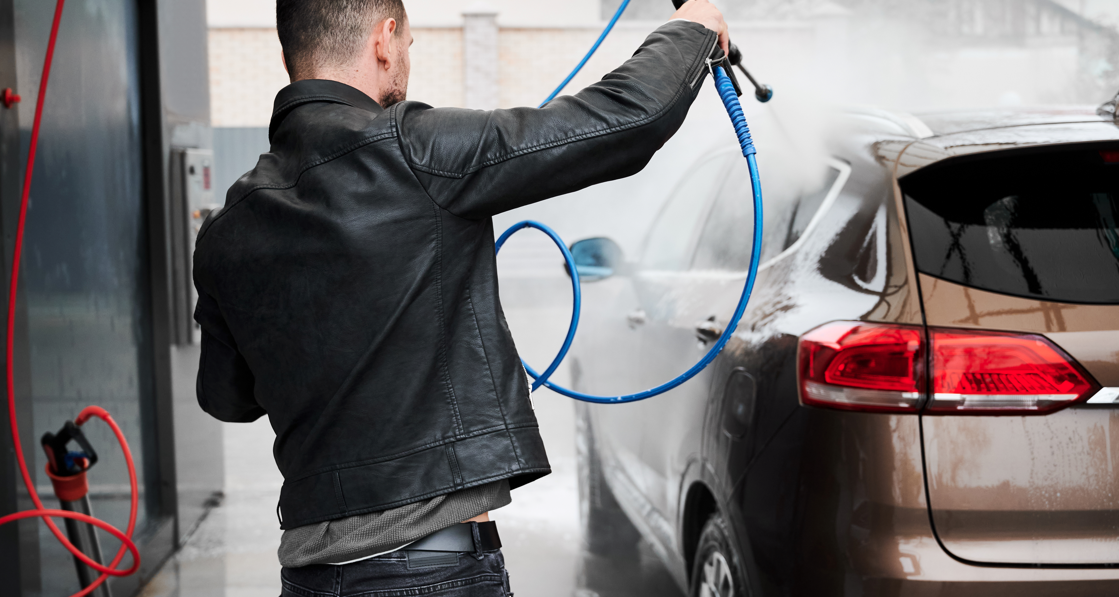
Comment créer sa station de lavage auto ?
Tout le monde aime rouler dans une voiture propre. Mais laver soi-même sa voiture est une option difficile à envisager pour de plus en plus de personnes. De nombreux entrepreneurs voient par là une belle occasion pour créer des stations de lavage auto afin d’apporter aux conducteurs une solution rapide et efficace. Si l’ouverture d’un […]
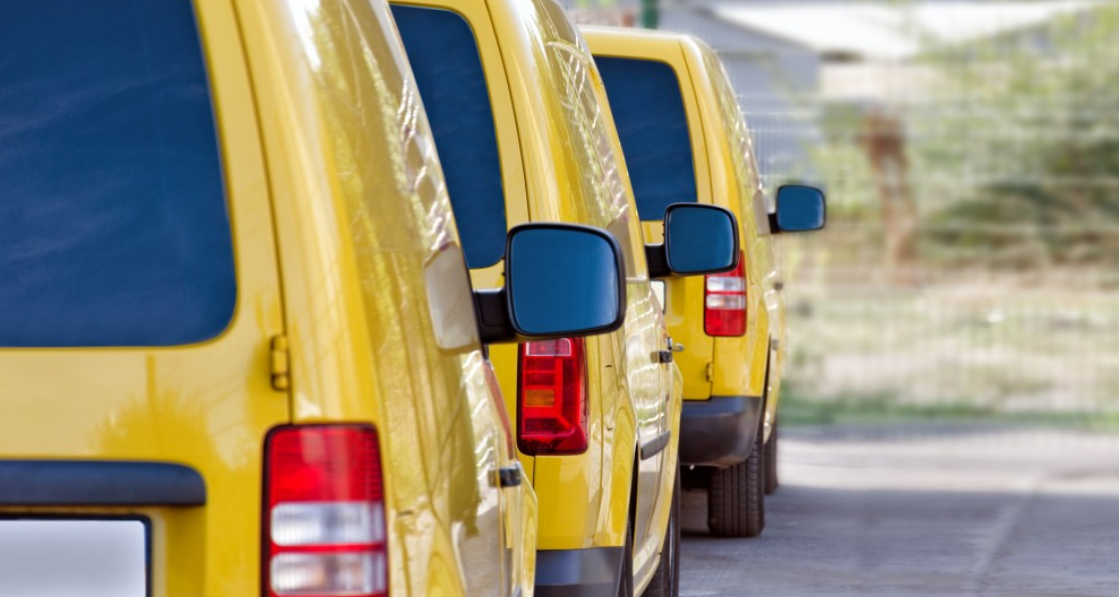
La carte carburant, un coup de pouce pour la gestion de sa flotte automobile
De nos jours, se déplacer en voiture est presque indispensable, notamment si l’on pense aux avantages non négligeables que le fait de posséder un véhicule individuel procure. Dans nos sociétés actuelles, si on aspire à un minimum d’indépendance, c’est absolument obligatoire. Cependant, divers facteurs rendent l’utilisation d’une voiture compliquée : le coût de l’assurance et […]

Pourquoi devriez-vous acheter un GPS de voiture?
Le principal avantage d’un GPS de voiture est qu’il s’agit d’un excellent moyen de suivre votre position. La plupart des modèles sont livrés avec de grands écrans tactiles et un guidage audio que vous pouvez désactiver si vous ne voulez pas l’écouter. D’autres avantages d’un GPS de voiture sont qu’il fournit des directions simples et […]

Un magazine automobile est il utile?
Pendant des années, le What Car? a fourni des conseils d’achat de voiture de confiance aux lecteurs britanniques. Vous vous abonnez au WhatCar? Ce magazine automobile est un excellent moyen de se tenir au courant des dernières automobiles, ainsi que de lire des articles intéressants. La question des prix est devenue légendaire, donc si vous […]

Comparatif détaillé des meilleurs éthylotests électroniques !
Les conduites sous l’emprise de l’alcool nous exposent à maints risques de circulation. Pour notre sécurité, celle des autres usagers ou même celle des populations riveraines, il est légalement ou réglementairement prohibé de prendre le volant en état d’ébriété. Pour cela, des sanctions sont donc prévues, en allant des petites amendes aux condamnations d’emprisonnement selon […]

Classement des meilleures nettoyants de vanne EGR Diesel !
Pour diminuer les émissions de gaz nocifs pour l’homme et son environnement, la vanne EGR est rendue obligatoire sur les moteurs Diesel et sur certains moteurs à essence. Il s’agit d’une petite pièce qui sert à retenir et à transporter une partie des gaz d’échappement. Ce mécanisme permet de booster la puissance du moteur et […]

Sur quelles bases de comparaison faut-il choisir une voiture hybride ?
La voiture hybride est un véhicule qui est devenu à la mode. Elle est la fusion idéale entre le véhicule thermique et le véhicule électrique. Cependant, les avis au sujet de cette nouvelle voiture restent très mitigés, bien que les plus grands constructeurs la proposent depuis une vingtaine d’années. Nous verrons dans cet article, les […]

Comment faire pour passer le code sur internet avec Prepacode ?
Le premier examen qui ouvre les portes sur le monde de la conduite est le code de la route. Cet examen constitue l’aspect théorique lors de la procédure d’éducation à la conduite. Passer le code semble assez angoissant aux yeux des candidats. D’après des évaluations, le taux de réussite approche les 80%, et en comprenant […]
Le voyant en forme de clé à molette est allumé sur Bmw Serie 6 : Que faire ?
Vous partez en voyage avec votre Bmw Serie 6 Corsa et quelques temps ensuite, vous constatez l’arrivé d’un témoin en forme de clef à molette sur le tableau de bord. Vous cherchez à comprendre ce que veut dire un tel voyant et ce qu’il faut faire. Ne vous inquétez pas, cette rubrique est pour vous. […]
Le voyant en forme de clé à molette est allumé sur Mazda Rx 8 : Que faire ?
Vous partez au travail dans votre Mazda Rx 8 Corsa et quelques moments ensuite, vous regardez l’apparition soudaine d’une figure en forme de clef à molette sur le tableau de bord. Vous cherchez à connaître la signification d’ un tel témoin et la procédure à respecter. Nous allons tous vous dérouler dans cette page de […]

Voyant en forme de clé à molette est allumé sur Opel Monterey : Que faire ?
Vous vous baladez dans votre Opel Monterey Corsa et quelques moments après, vous constatez l’apparition soudaine d’un voyant en forme de clef à molette sur le tableau de bord. Vous cherchez à connaître la signification d’ un tel voyant et la procédure à respecter. Plus d’inquiétude à vous faire, cet article est pour vous. Lisez […]
Le voyant en forme de clé à molette est allumé sur Mercedes Sprinter 2 : Comment faire ?
Vous commencez de démarrer votre Mercedes Sprinter 2 et un un voyant avec l’aspect d’une d’une clé à molette apparait sur le tableau de bord de votre automobile. Vous cherchez à connaître la signification d’ un tel témoin et les agissements à suivre. Plus de stress, cette rubrique est pour vous. Lisez jusqu’à la fin. […]
De l’actualité auto aux rumeurs, vous saurez tout !
Mais le monde de l’automobile est également bouleversé en permanence. Chaque année, de nouvelles technologies et innovations voient le jour dans ce domaine, et les rectifications du code de la route ne sont pas rares. Afin que vous puissiez toujours être tenu informé de ces innovations et changements, nous vous proposons de découvrir ici toute l’actu auto qui vous permettra de vivre pleinement votre passion sans devoir passer tout votre temps libre à effectuer toutes sortes de recherches sur internet.
Enfin, ce qui fait tout le charme du secteur automobile, c’est le fait que les constructeurs automobiles ne sont jamais à court d’idées pour nous surprendre comme dans le fott avec notre partenaire de As Vesly. Il nous a donc semblé essentiel de pouvoir partager avec vous toutes les rumeurs qui concernent ce secteur. En clair, en un seul et même endroit, vous accèderez à tout ce dont vous avez besoin pour vivre pleinement votre passion pour l’auto !